Hours This Week: 8
Total Hours: 66
Total Hours: 66
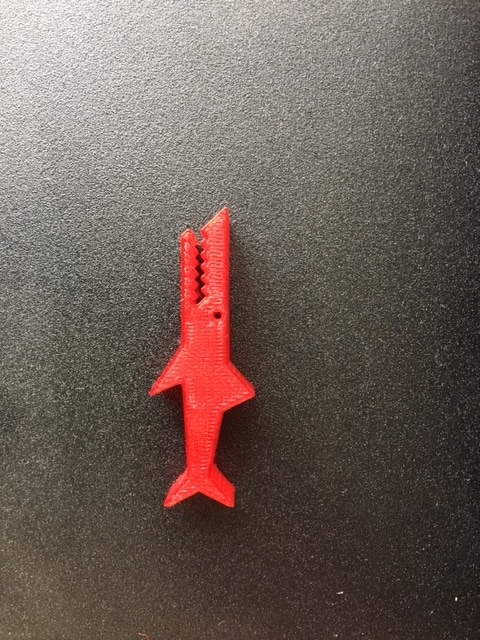
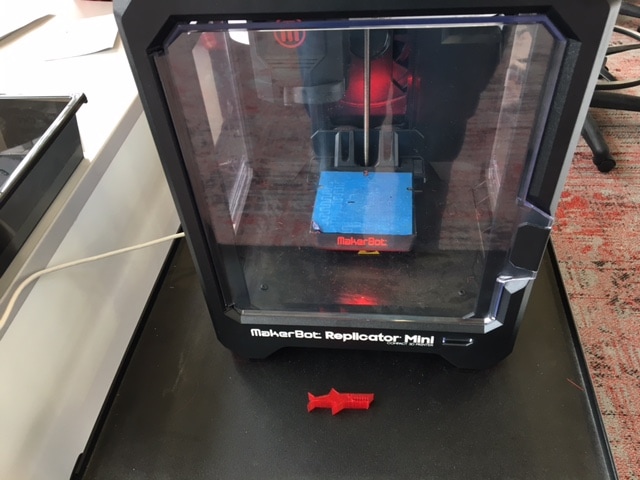
This week I tackled a large project. I learned about the 3D Printer. The AHS media Center has a 3D printer but it was not linked to a computer and it was not used. I learned how to install the proper software onto a computer. I loaded the proper applications and MakerBot 3D printer is ready for use. I make a few designs with it during the bust times in the library. The students and teachers were very interested in watching the printer work. I also created complete instructions. I completed a large amount of research. The picture below is the shark I created in the printer.
This is the information I collected when I researched the MakerBot 3D Printer:
How to Print using the MakerBot application on the desktop:
Go into Makerbot with the desktop application:
Print: There are tabs on the top. Here is what the tabs do.
Print choice #1: Explore allows you to search through different designs.
Choose Explore Tab and look through different designs. You can look by category, most recent, popular, etc. You can also search with the search button.
Download your choice. When the information is done downloading you will be given the choice to Prepare.
At the bottom of the screen there is a list of items to prepare (some designs have multiple parts).
Prepare the one you want to print.
You will be taken to the prepare screen. Choose print.
Print choice #2: Library Tab allows to you look at previous designs and designs you have saved to the Makerbot.
Choose the design.
Prepare the design
Print the design
Print choice #3: Prepare Tab takes you directly to the prepare screen. You can upload images saved to your computer.
How to customize designs:
Customize designs previously created:
Explore Tab (Thingverse.com)
Create Tab (on top)
Customize a thing: Customize a previously published 3D image
MakerBot Resources:
Tinkercad.com:
Free Acct for teachers: Tinkercad.com: lots of resources, design, share with students.
You can upload images from the internet or your computer as long as they are the following: stl, obj, svg.
Video: Upload from Tinkercad to MakerBot: https://www.youtube.com/watch?v=JuyMp8aZl1Y
Ipad:
Sync an Ipad to the MakerBot printer. Here are videos on the Ipad app. You can create. You can upload pictures and turn them into designs.
https://www.youtube.com/watch?v=U7Jmcgb8FDU
https://www.youtube.com/watch?v=B7niyb6V9sY
https://www.youtube.com/watch?v=l8d5BW3hwe8
I spent more time observing in CVES. I am extremely interested in the differences between each of the sites. The Media Specialist at the elementary school is fabulous. Her technology focus is teaching the students and the teachers about technology tools, websites, etc. She supports the classroom with lessons. The technology focus at the high school is technology tools and technology equipment. I like the contrast.
 RSS Feed
